hadoop
2023 年 4 月 3 日
Centos 9 Stream 安装 mysql 8
学习搭建mysql 8
Centos 9 Stream 安装 Mysql8
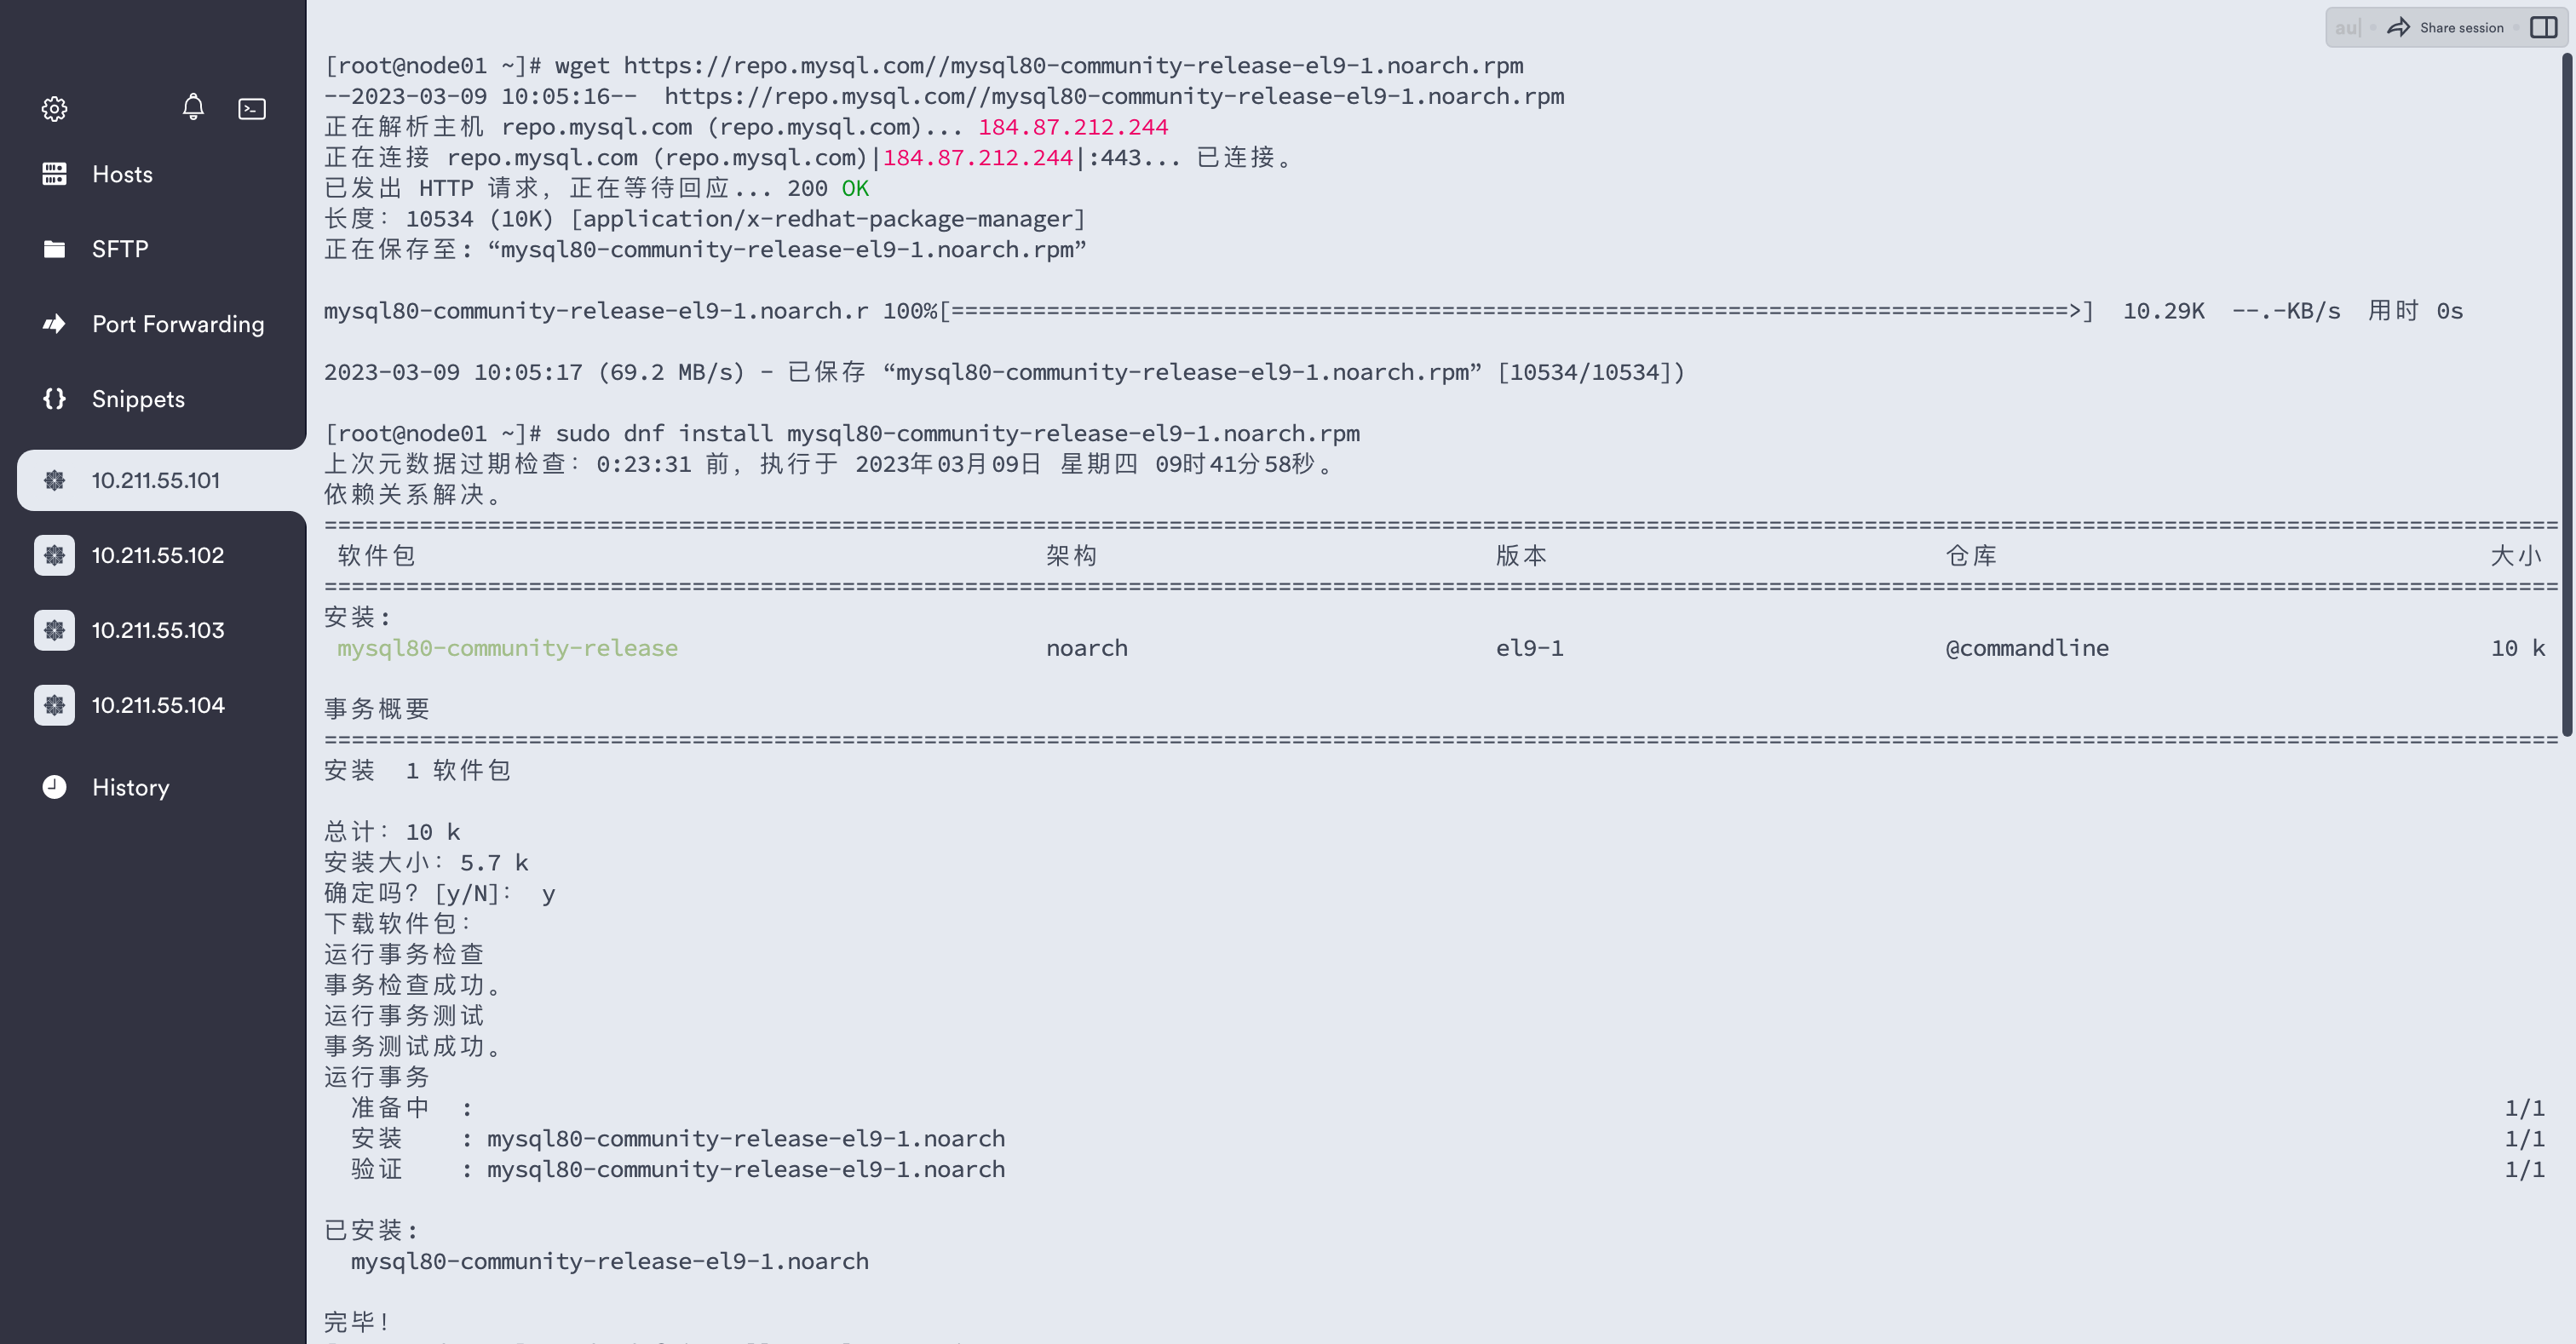
1、Adding the MySQL Repository
wget https://repo.mysql.com//mysql80-community-release-el9-1.noarch.rpm
sudo dnf install mysql80-community-release-el9-1.noarch.rpm
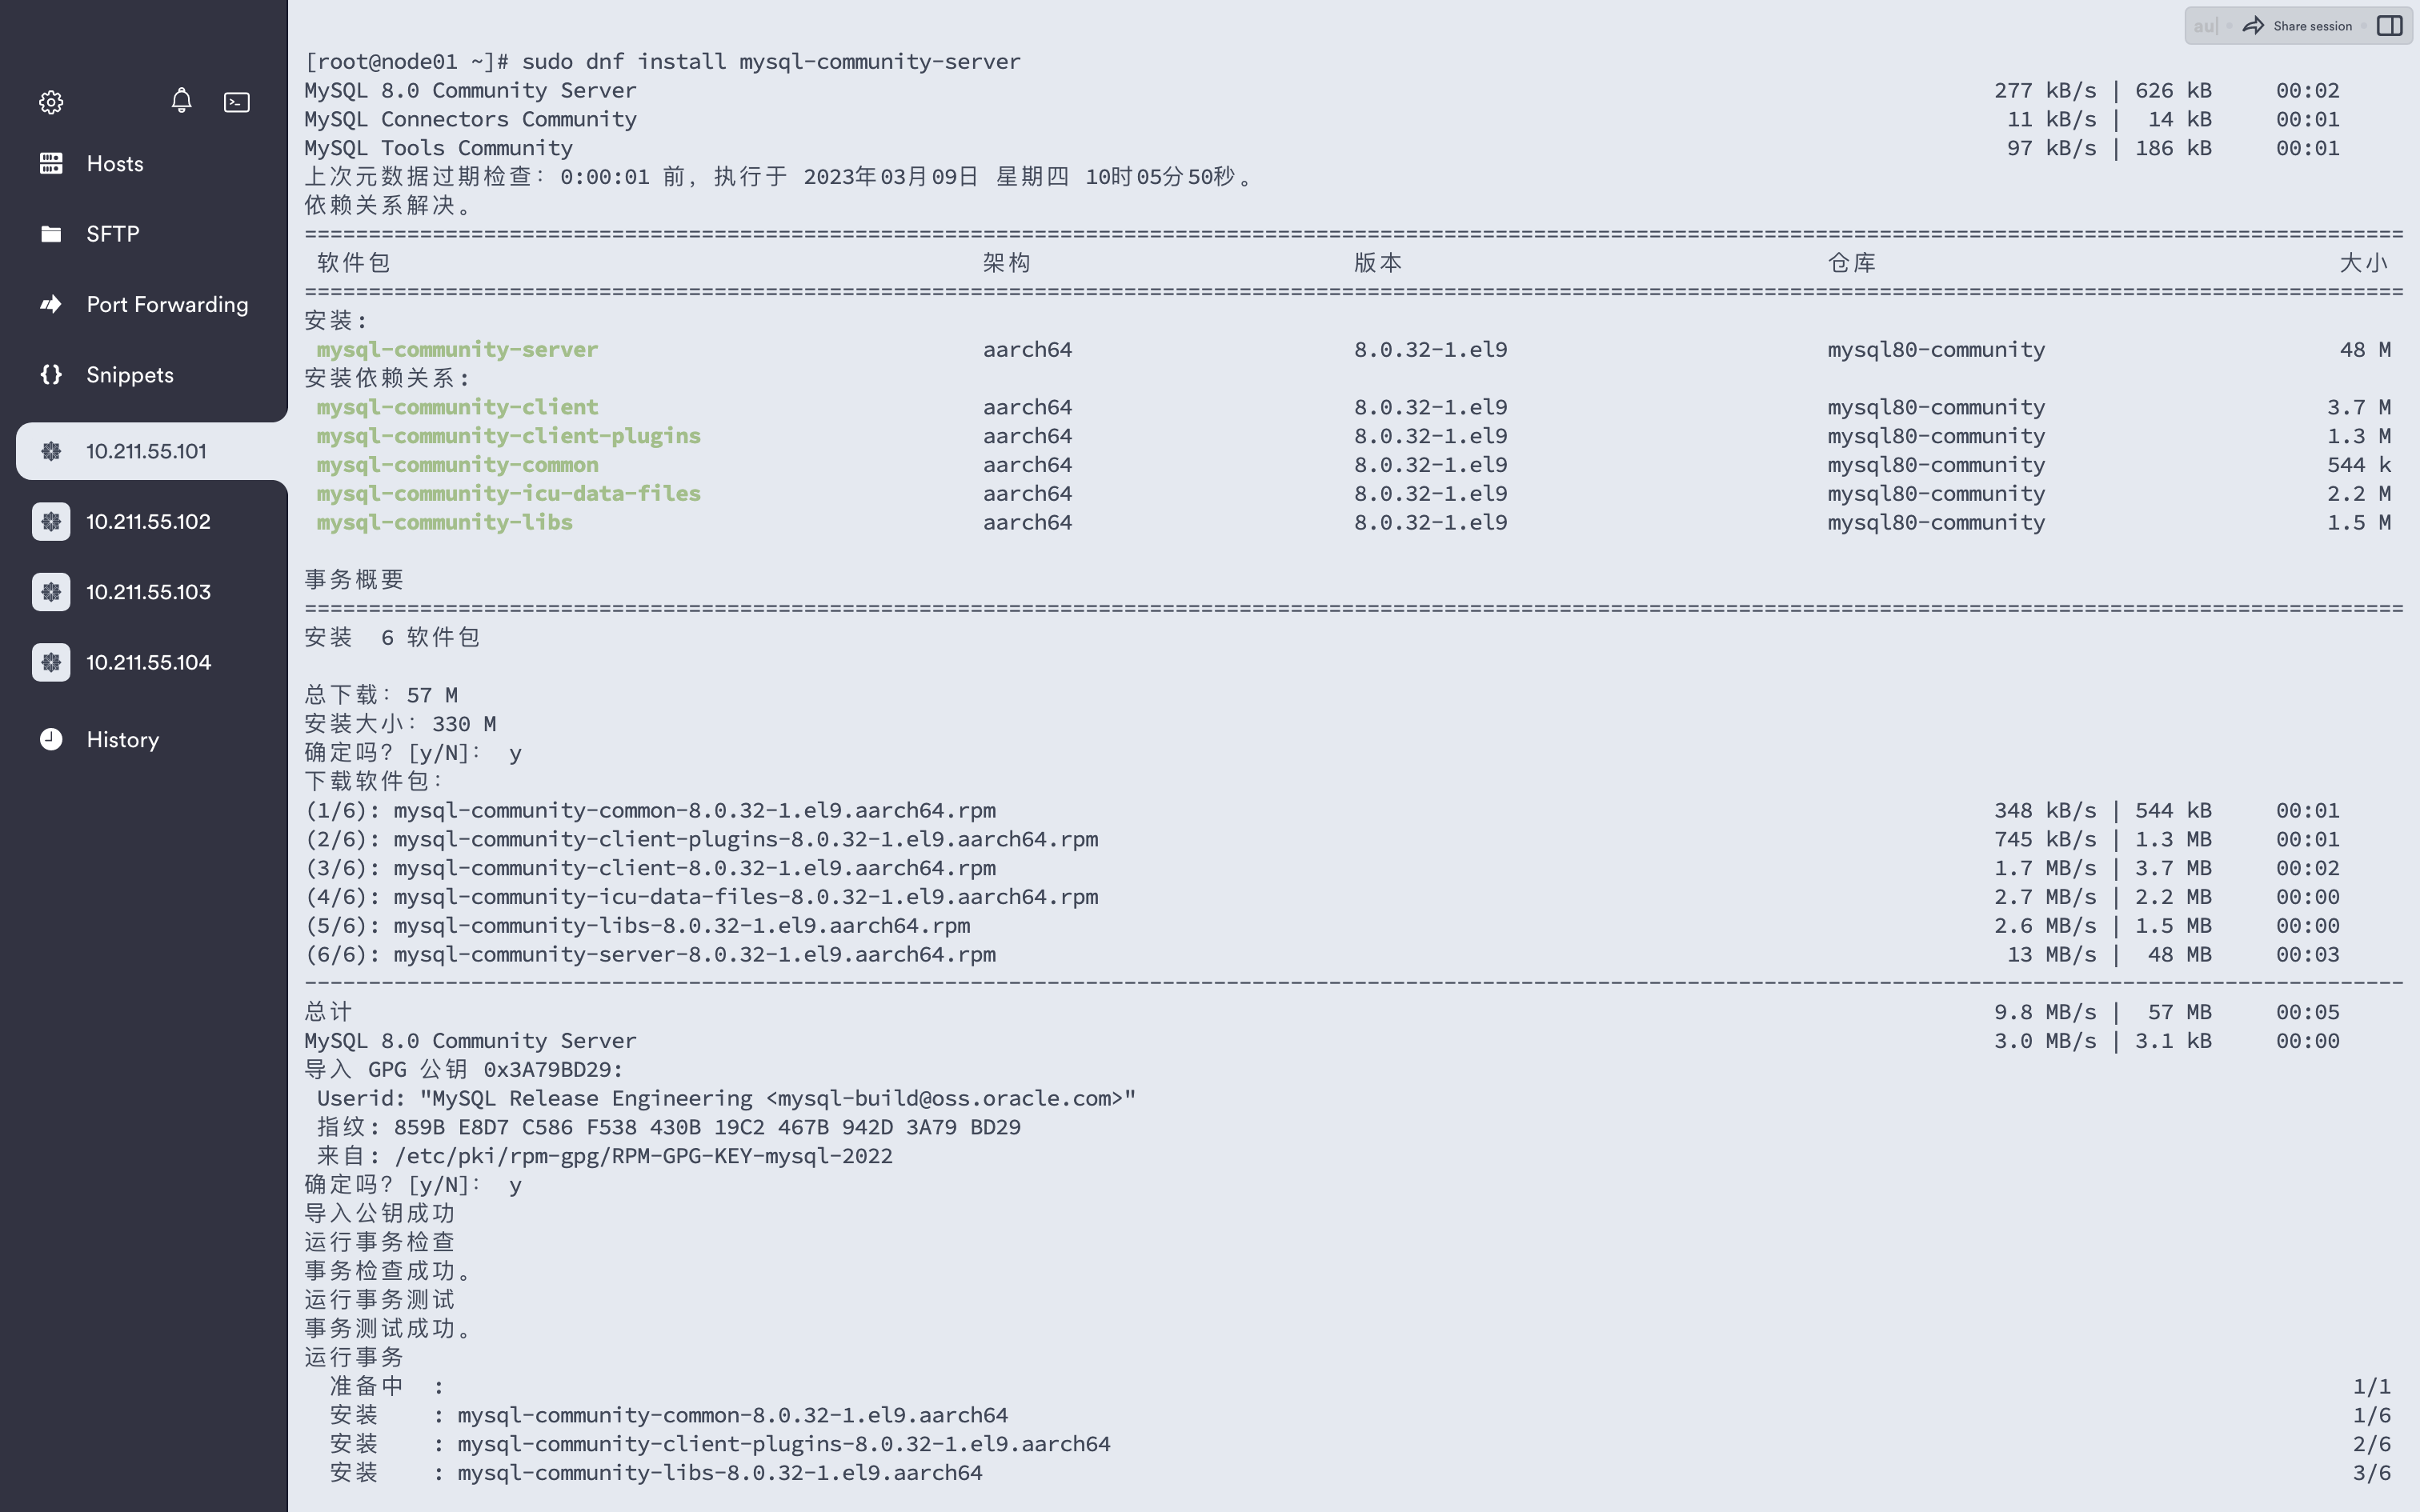
2、Installing MySQL 8.0
sudo dnf install mysql-community-server 

3、开启 mysql 服务
sudo systemctl start mysqld 4、Securing MySQL
grep 'A temporary password is generated' /var/log/mysqld.log | tail -1 
查看临时密码,后续更改密码。
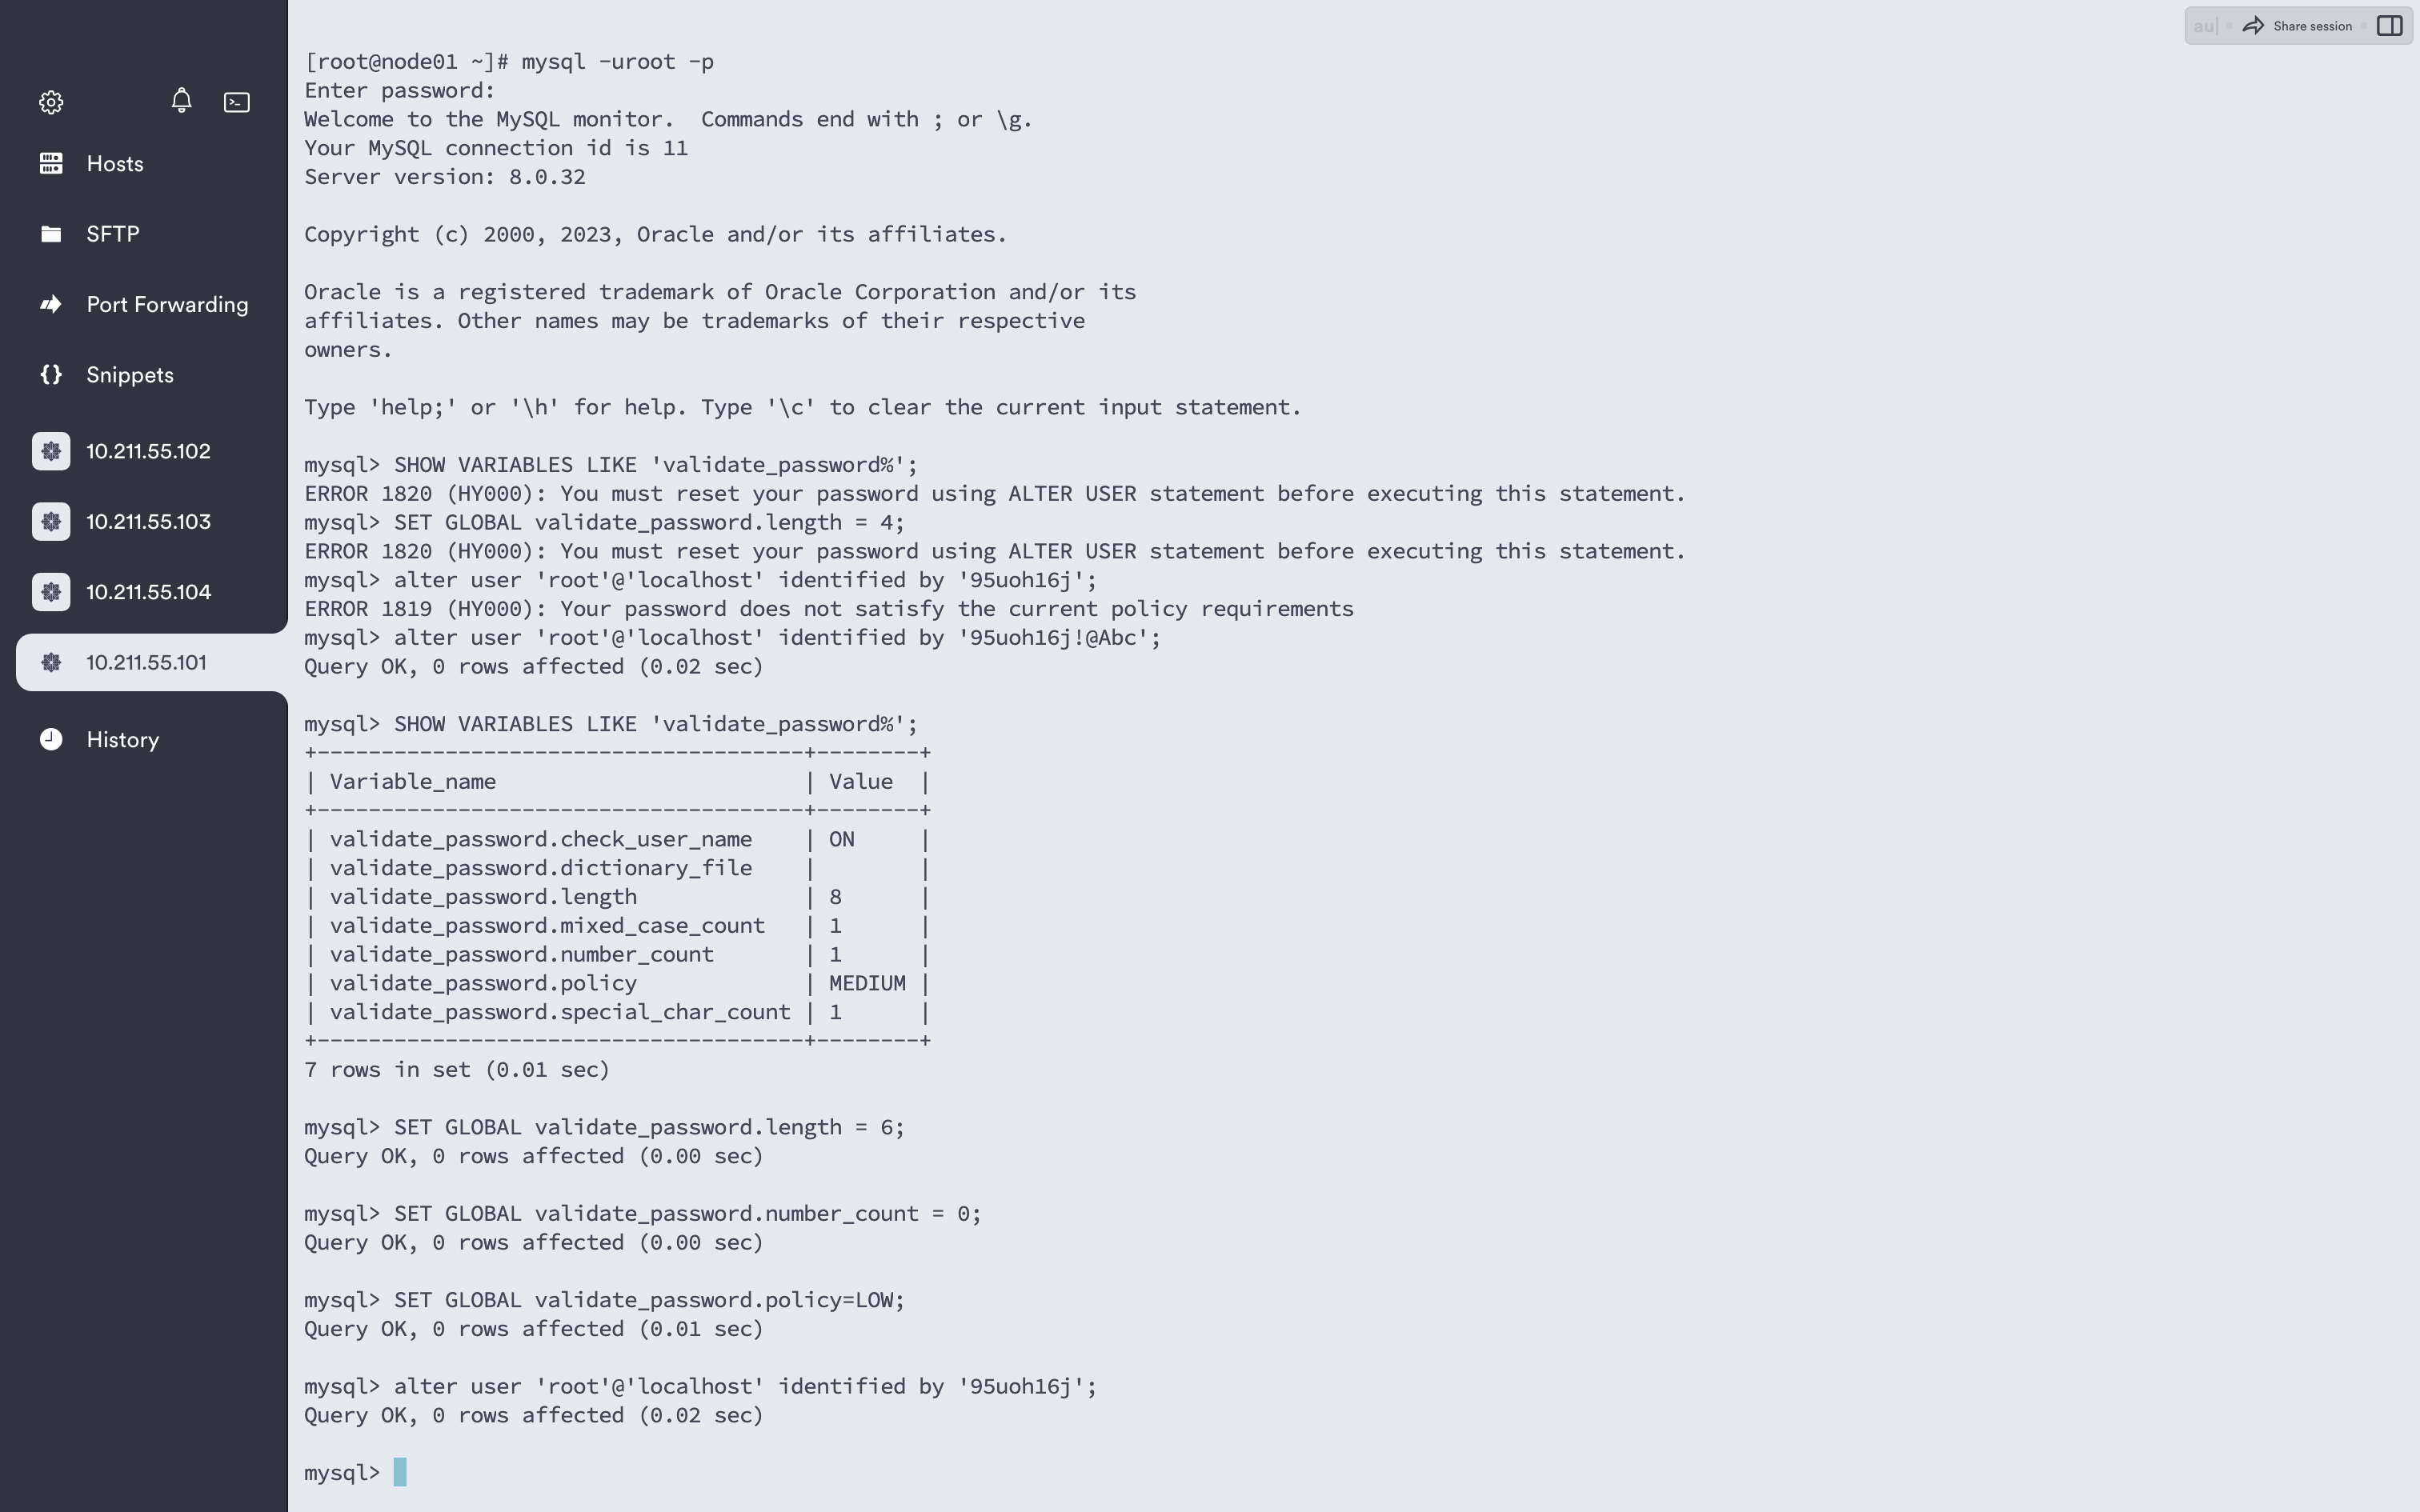
5、先用临时密码进入,修改密码等级,否则会无法修改密码。
mysql -uroot -p
输入临时密码
alter user 'root'@'localhost' identified by '95uoh16j!@Abc';
更改后修改等级

SHOW VARIABLES LIKE 'validate_password%';
SET GLOBAL validate_password.length = 6;
SET GLOBAL validate_password.number_count = 0;
SET GLOBAL validate_password.policy=LOW;

alter user 'root'@'localhost' identified by '95uoh16j';
6、查看所有用户密码并允许远程登录
show databases;
use mysql;
select host,user,plugin,authentication_string from user;
create user root@'%'' identified with mysql_native_password by '95uoh16j';
grant all on *.* to root@'%' with grant option;
#删除非 host 为%的用户
delete from user where host != '%';
#必须执行,否则不生效!!!
flush privileges;


#注:mysql 8.0远程连接,在参数文件的[mysqld]下添加:/etc/my.cnf
default_authentication_plugin=mysql_native_password
7、设置 mysql 开机启动
sudo systemctl enable mysqld
版权声明:自由转载-非商用-非衍生-保持署名(创意共享3.0许可证)
作者: 发表日期:2023 年 4 月 3 日